Photographing Food on a Light Table: A Tutorial
 Looking for a fun new way to photograph food? Try a light table!I recently got a light table and I haven't been able to stop playing with it! Using a light table helps all kinds of foods look their very best. Plus it's a great way to add a new perspective to meals and recipes. After tons of experiments, I've realized that my light table offers 5 major advantages...
- It adds an interesting background that makes fruits and vegetables appear brighter and more colorful.
- It gives an expensive studio appearance to my work, yet helps it stand apart from the over-styled photos used by so many in social media.
- I don't have to use a fancy camera with my light table. The photos come out wonderfully, regardless of what I use.
- With my light table, I don't have to worry about shadows any more.
- The light white background is never busy and instead always makes food look more appealing.
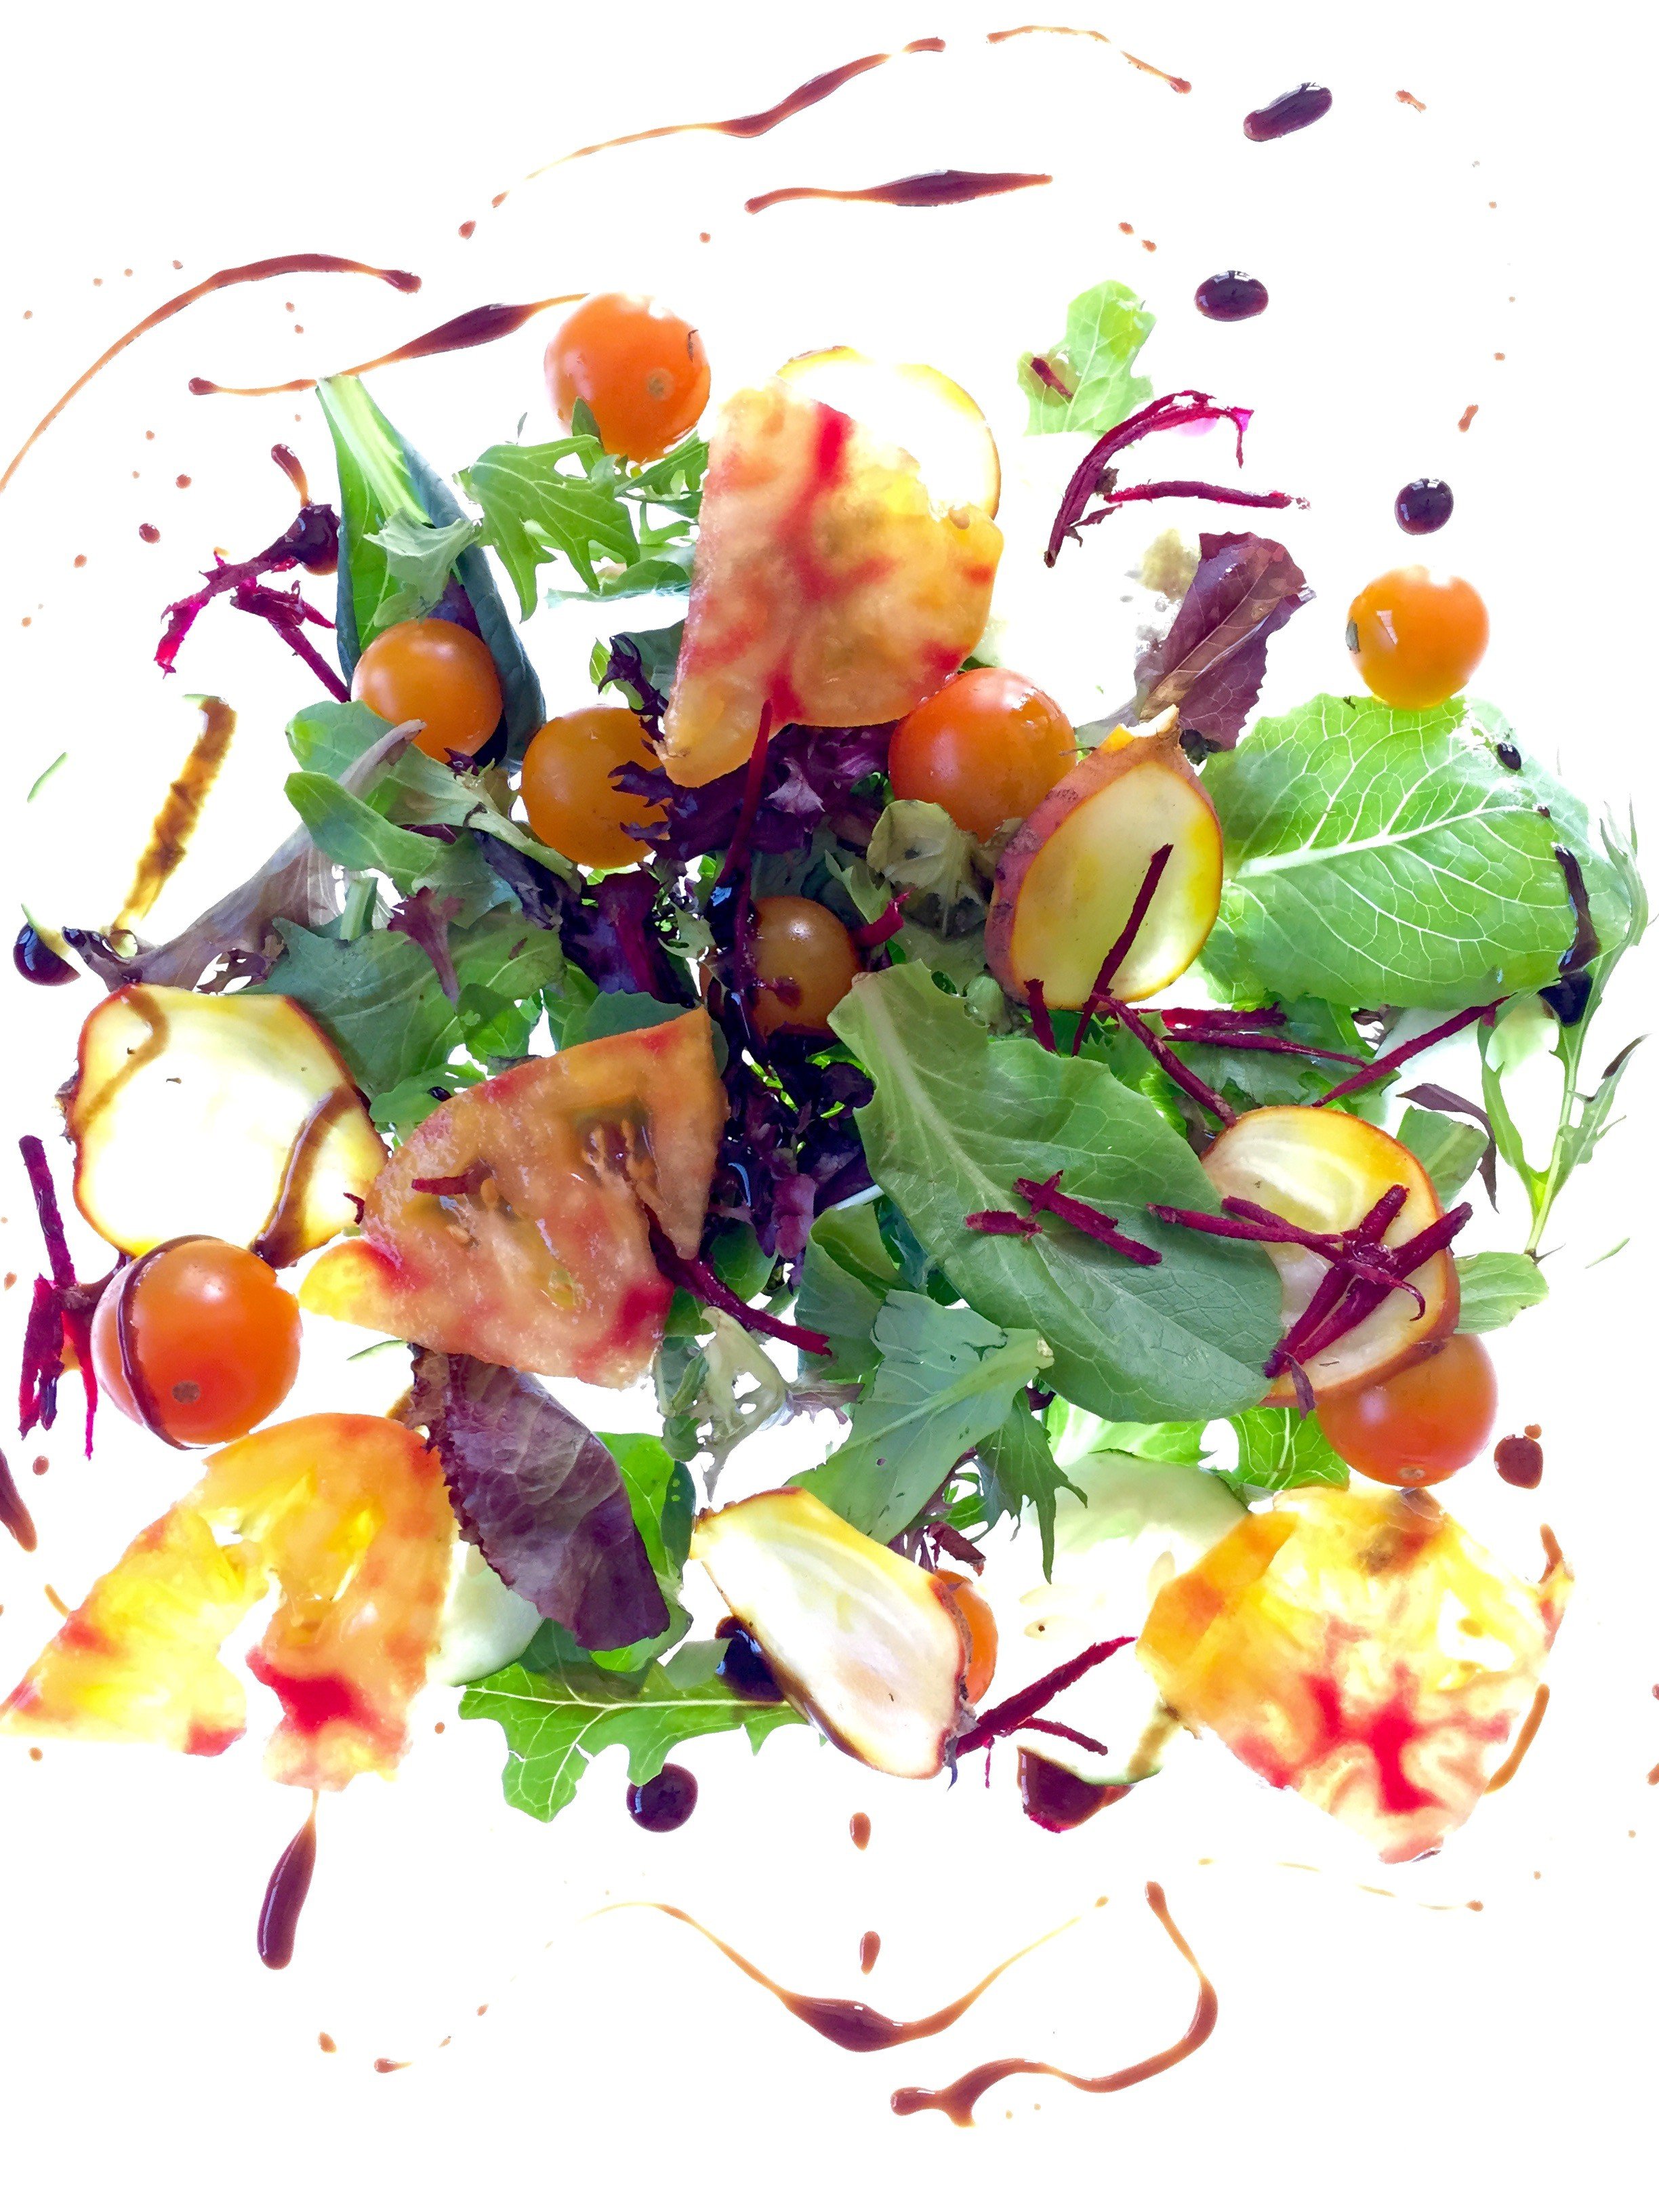
Check out some of my favorite recent light table images. The fruit was taken with a Nikon while the salad was shot with an iPhone:
 Want to try one for yourself? You can purchase an inexpensive LED light table on Amazon.com for around $100 or less. My table is 17x24" -- take a look!
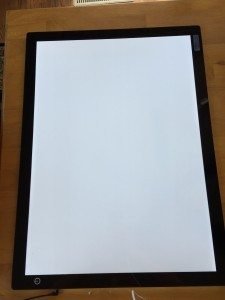 To shoot food on it, simply cover the surface with plastic wrap. Any wrinkles in the wrap won't come through in the final photos, so smooth it as best you can but don't worry too much. When you're done with the shoot, the plastic wrap makes cleanup a snap! Also, as long as you don't let the food sit out too long, you can still serve it when you're done taking pictures.
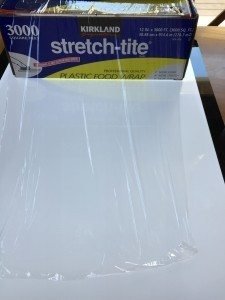 Now let's talk food. Once your light board is covered with plastic wrap, it's time to prepare the food you'd like to photograph. Thinly slice whatever you want to feature -- I like to use a sharp knife on a secure cutting board. For finely sliced items, consider a Japanese mandolin (you can get one for under $25 on Amazon.com). It's important to have every element ready before you start taking pictures so that the food stays fresh and looks its very best. Be sure not to start until you have all the ingredients, a set of tweezers to help arrange everything, paper towels (for cleanup), your camera, tripod, and shooting area.
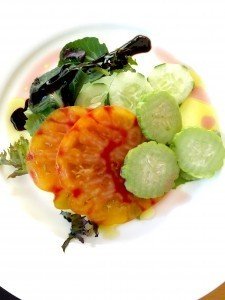
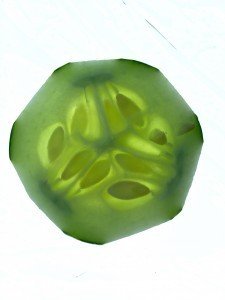 Not sure what to photograph? Salads always look interesting, especially if you add olive oil, flavored vinegar, and balsamic vinegar glaze. Avoid using pepper, since it can add a dirty look to the photo. Try to arrange items loosely so that there is air between them and make sure to have your items vary in height and color. The picture below features a great example of a salad that uses two ways to prepare beets (shaved slices and julienned strips), a fresh mix of microgreens and baby lettuces, heirloom tomatoes, yellow cherry tomatoes, and cucumbers.Oh, and remember to pay attention to the light on top of the items. In this photo, I used natural light, shooting in a light dining room that has large sliding glass doors and an oversized window in the wall.You can also shoot plated items on a light table. The photo below features a plate that had slices of large heirloom tomatoes and 2 kinds of cucumbers (farm fresh and Persian). The oil and vinegar add an attractive, eye-catching finish to this salad. There is just a hint of a white plate and no shadows, so the food and its colors are really accented and appetizing.
 If you are shooting items from a farmer's market it is always good to bring bags, a cooler, and damp towels to the market so you can preserve the freshness of your items.Did you like this tutorial? Consider getting a free handout with the highlights from today's post!
 And since we're here to help you look your very best, we've stocked the Nutrition Education Store with more resources, just for you...
Nutrition Education Store
Look What's New in Our Store